How to Convert JPG to Vector

In this tutorial, you will learn how to convert JPG to Vector, i.e. turn a jpg image into a vector file. In the design industry, this is called tracing. Let’s explore this design essential.
Firstly, why would we do that?
Let’s say you have to make a design for your client. They want a nice Sunflower illustration or a silhouette but you can’t find anything like that on the web. Well, you can find a nice image of a sunflower and then turn it into a silhouette/illustration – this is tracing.
For this tutorial, we will be using a picture of a sunflower from Pixabay, which you can download from here:
Pixabay Sunflower by ThomasWolter.
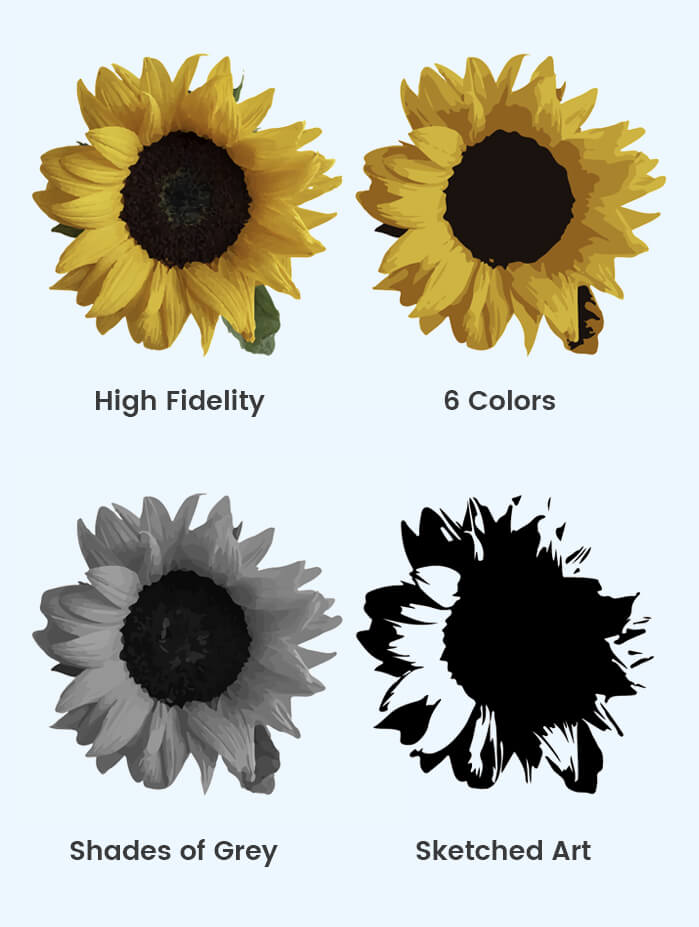
To learn more about converting JPG to Vector, we will trace this flower with different settings. This will help you understand the capabilities of the tracing.
STEP 1
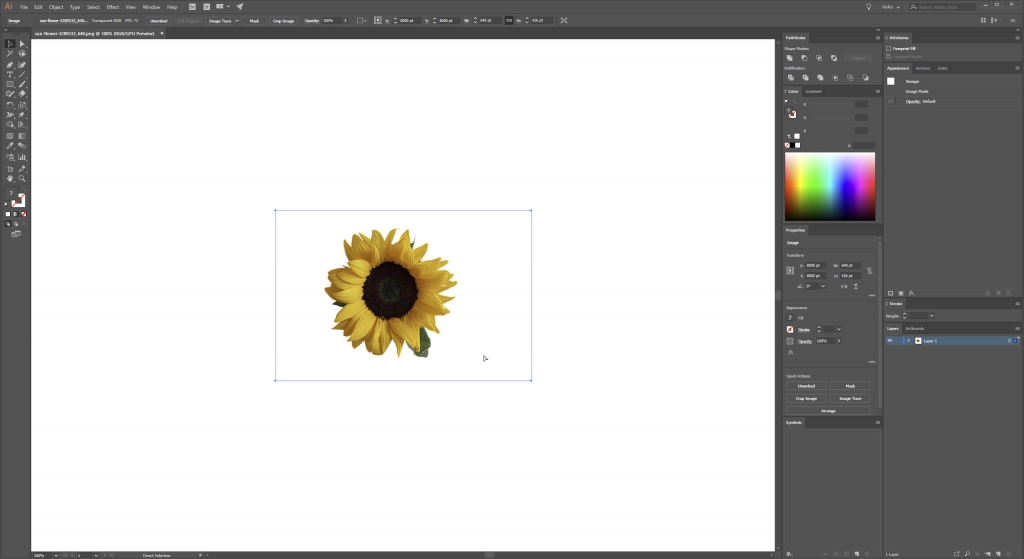
Open the sunflower picture in Adobe Illustrator.
STEP 2
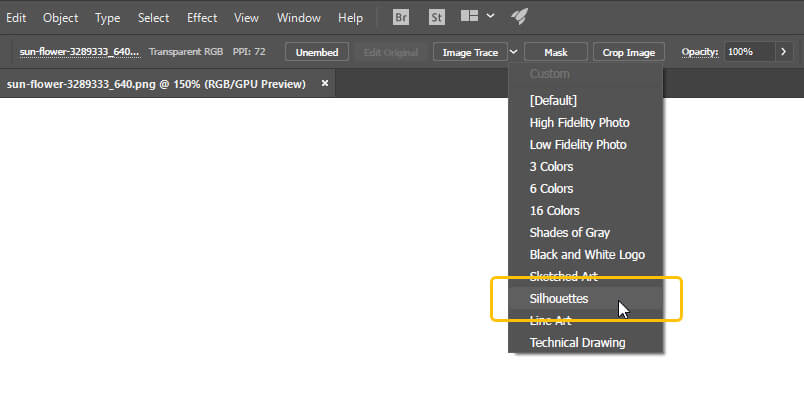
Find the “Image Trace” button on the navigation bar on the top. Click on the arrow next to it. On the drop-down menu, you will see many options for tracing. For this tutorial, we will use the option “3 Colors”. This will turn the flower picture into a colored vector shape with 3 colors – white, black, and yellow.
Now your flower should look like this.
STEP 3
If you are happy with the result, click “Expand”.
This type of tracing is often used to make silhouettes of people and popular object.
Now let’s see how it can be traced with the different tracing options.
If you don’t have Adobe Illustrator, there are many different free online services which support tracing of jpg or png images. They have different settings and options, so the results may vary.
To sum up, Converting JPG to Vector and trace it, is a very time-saving process. We hope you will save a lot of time with this automated process. If you have any questions or comments, go ahead and share your opinion with us in the comment section below.
