How to Change Color of Vector Image for Beginners

In this tutorial, we will teach you how to change colors of vector image in Adobe Illustrator, so the vector graphics match your design.
This how-to tutorial will help you understand the fill and stroke color fundamentals. You will also learn how to work with the basic illustrator tools for designers who don’t usually work with vector based software.
This material is oriented to beginners in the Vector Software, so let’s start with the basics.
STEP 1
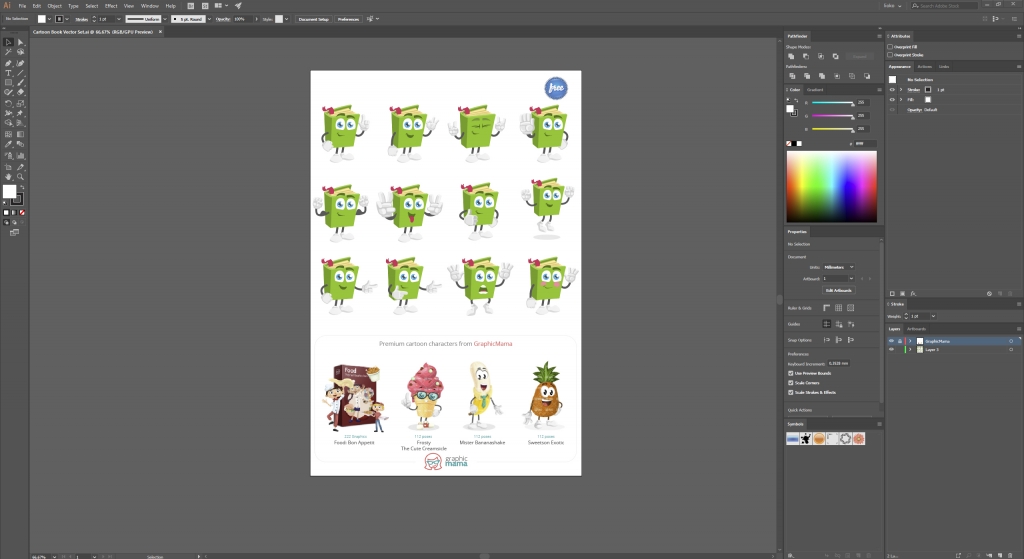
In this tutorial, we will be using a free vector character which you can download from:
FREE Cartoon Book Vector Character Set
After you download the .zip archive, unzip the archive. Then, open the Cartoon Book Vector Set.ai file with Adobe Illustrator.
STEP 2
While pressing “CTRL/Command”, press “+” a few times in order to Zoom In. This way, you will be able to see more details of the image.
*This is the quickest way to Zoom In/Out in Adobe Illustrator. Use “+” to Zoom In and “-” to Zoom Out. This tool is very useful and helps you select vector paths more accurately.
STEP 3
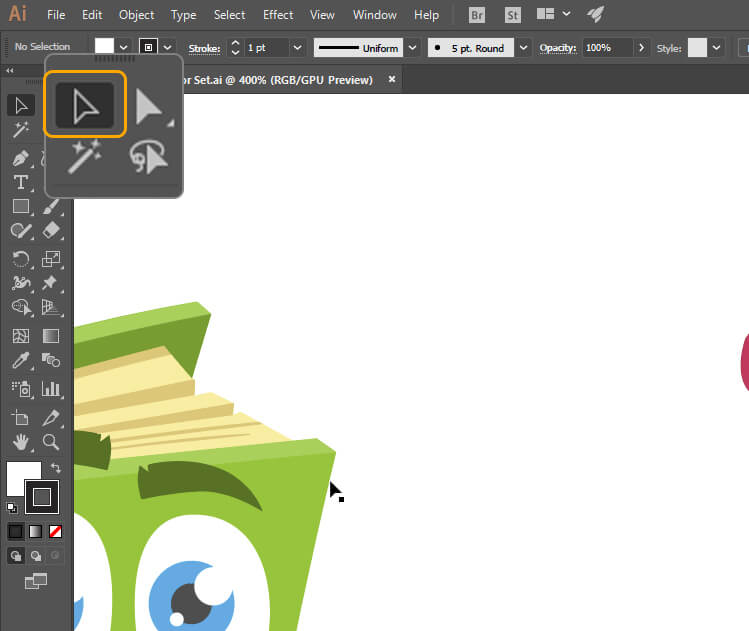
On the left side of the screen, you should be seeing the toolbar. Click on the top left mouse icon or Press “V” on your keyboard to use the Selection Tool.
Useful Information:
In Adobe Illustrator, the Selection Tool and the Direct Selection Tools are essential to know. In this tutorial, you will understand how to work with them and what their functions are.
The Selection Tool (V) is for selecting groups. If you double-click a group, you will isolate the selected group and edit only this group. The Direct Selection Tool (A) selects the paths directly, and not the whole groups.
STEP 4
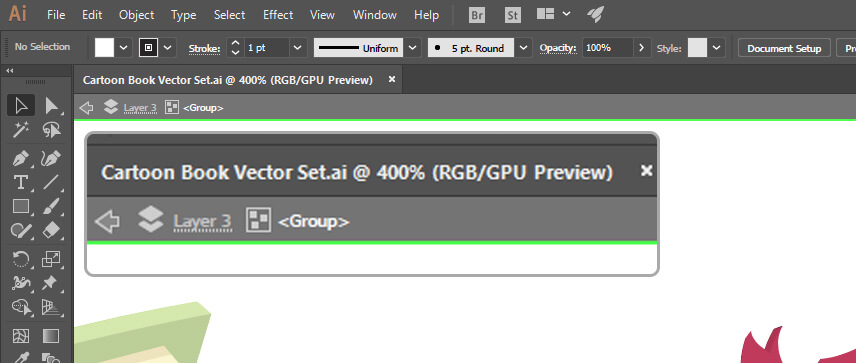
Click twice on the vector image with the Selection Tool. This will turn the group into an isolation mode. This means that each color change we make will affect only the current graphic but not the other poses of the vector character. When you enter isolation mode, you should be seeing the “Layer 3 <Group>” text like this:
STEP 5
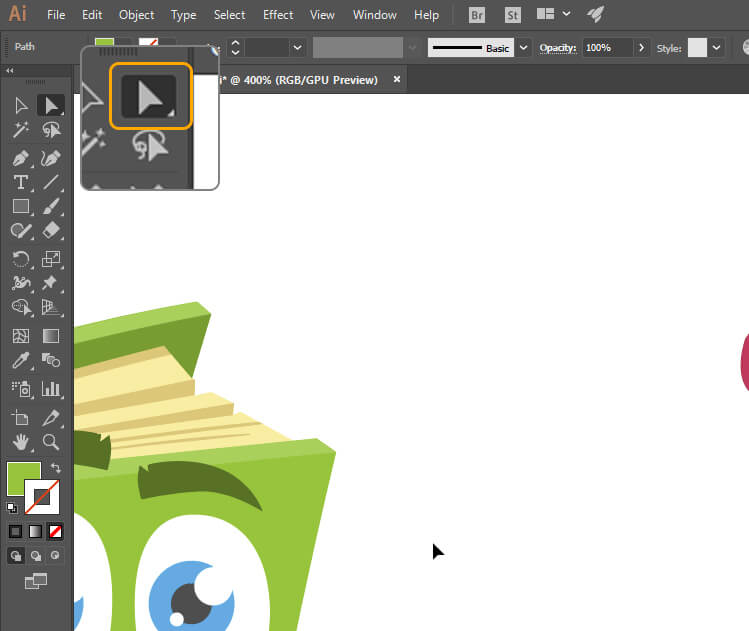
Click on the mouse cursor icon located on the top right of the navigation bar or press “A” in order to switch to Direct Selection Tool.
STEP 6
Click on the green path of the book character to select the green color.
STEP 7
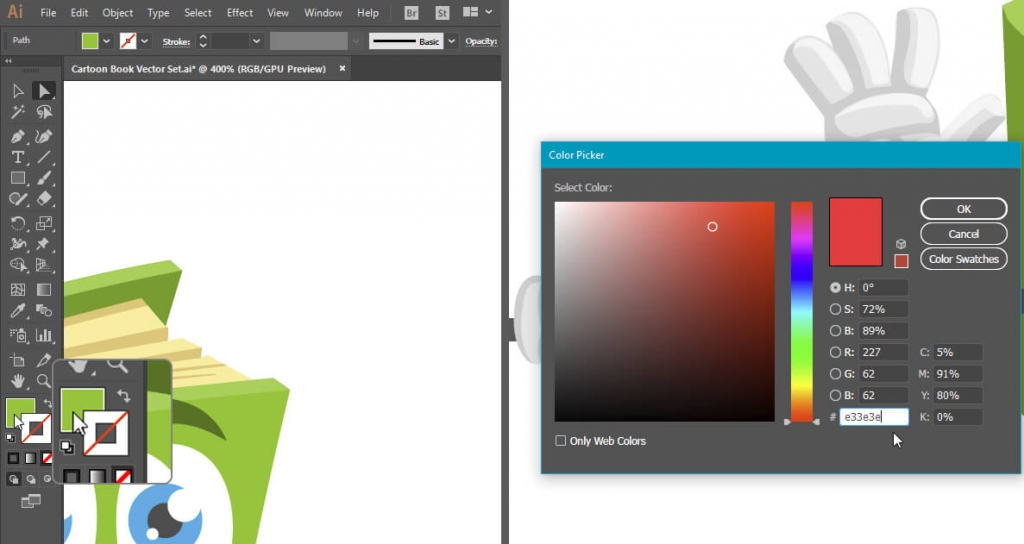
In the bottom of the Toolbar, you should be seeing the book’s green color. Double-click on it to make the color picker panel appear. For the purpose of this tutorial, we will be turning this green book red. Type color #e33e3e and click Enter.
STEP 8
At this point, the vector book character image should be partly red. Use the Direct Selection Tool to select the same green color on the left side of the book. Be careful not to select the shadow of the book. If you need to, zoom in again.
STEP 9
Now, we will repeat step 7 to open the Color Picker. This time we will use a darker red, so type color #991616. Now the book should look like this:
STEP 10
The next step would be to change the colors of the eyebrows and the mouth of the vector image. Select one of the eyebrows with the Direct Selection Tool.
STEP 11
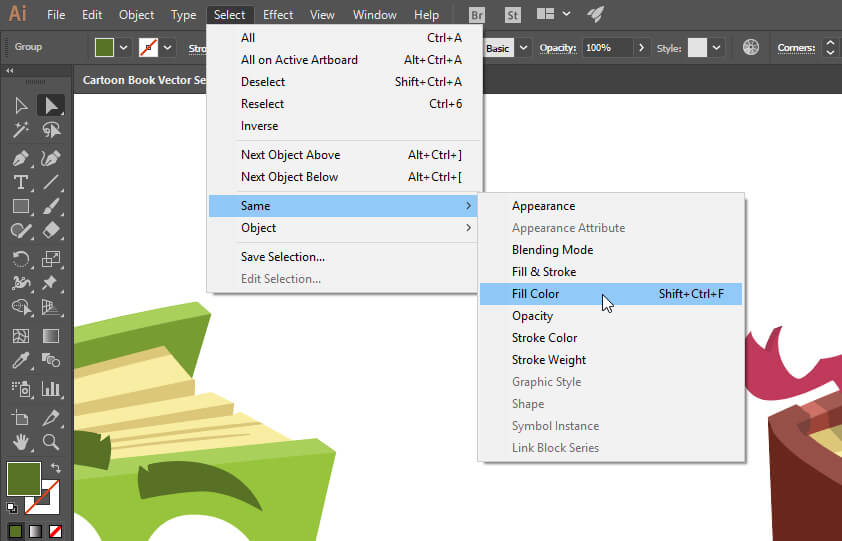
Go to Illustrator Menu > Select > Same > Fill Color. Now, all items with the same color are selected – the two eyebrows and the two shapes of the mouth.
STEP 12
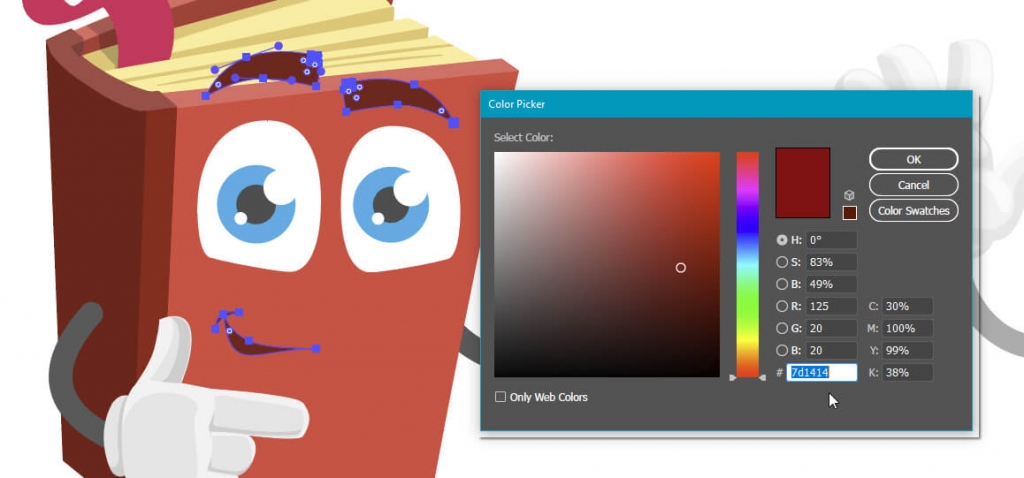
Go to Color Picker again and change the color to #7d1414 .
STEP 13
The only thing that still looks a little bit weird is the bookmark of the vector book character. Let’s change its color to #ffd312 .
STEP 14
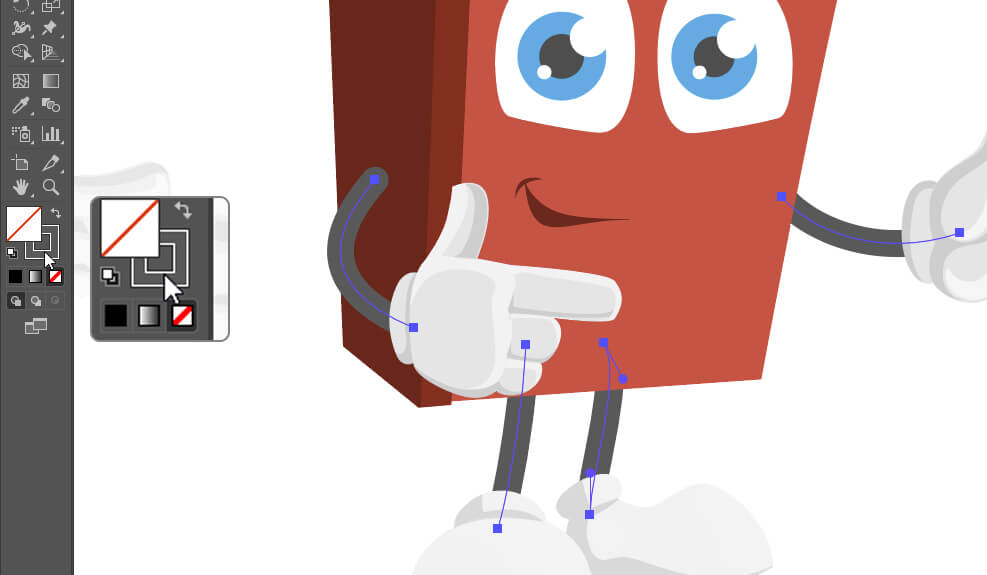
Well, our graphic looks great but one of the hands merges with the darker red color. This gives us the opportunity to learn how to change the color of the stroke.
With the Direct Selection Tool go over the center of one of the legs of the character. You should see a little box next to the mouse icon. When you see it, click once to select this path.
STEP 15
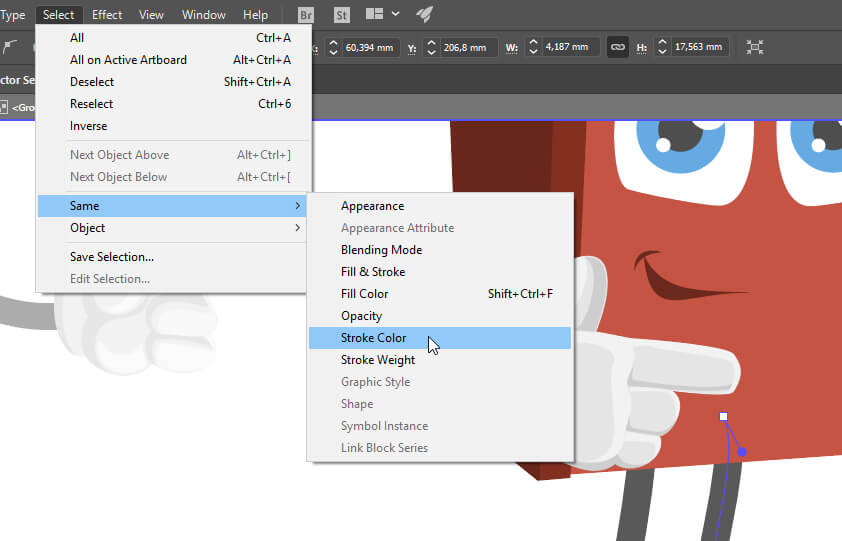
To select the other leg and the hands of this vector character, go to Menu > Select > Same > Stroke Color.
STEP 16
This time we will change stroke color, not the fill. From the Toolbar, select the color square with a little square in it. Change the stroke color to #7a7a7a. Now the character’s hand pops more.
Congrats! Now you know the basics of how to work with colors of vector image in Adobe Illustrator. We hope this tutorial was helpful. If you have any questions or thoughts you want to share, don’t hesitate and write a comment below.
Before / After
